Generating a report is an important component in STDM that is pivotal for the dissemination of information on land. This information will be used in various ways for example in the making of informed decisions, good management of resources, security of tenure, etc.
Once you have created a template using Document Designer, you can use Document Generator to generate documents in file formats such PDF and different image formats.
The generation of documents is based on entities and database views that are used as a data source to design the template.
You can generate documents for selected records. This is mainly applicable when you want to generate documents such as certificates of ownership, title deeds, allocation document for a party or a spatial unit. In addition, you can even generate a letter based on a record entry in STDM. For instance, in a local government setting, a letter template can be designed to be used for a confirmation of survey on a parcel that can then be used for approval. For this purpose, you can use the Survey and related entities as a data source in local government profile included in STDM 1.7 installation. The letter could have information that shows a survey date, the applicant, the surveyor and the location with a field for signatures.
You can also generate documents that are used for reporting purposes. The document templates could be designed from a database view created from custom queries that provide aggregate information. Aggregate views are not created in STDM by default as user requirements vary. Currently, only social tenure relation view is created. Using aggregate views, you can create templates that use charts.
To generate a report based on the designed template follow the steps below.
Important Note: Do not generate a document using a template that is open in Document Designer. This will block you from adding any more items into the template. To avoid this issue, close and open the Document Designer and open the template.
1. On the STDM toolbar, select Document Generator button.
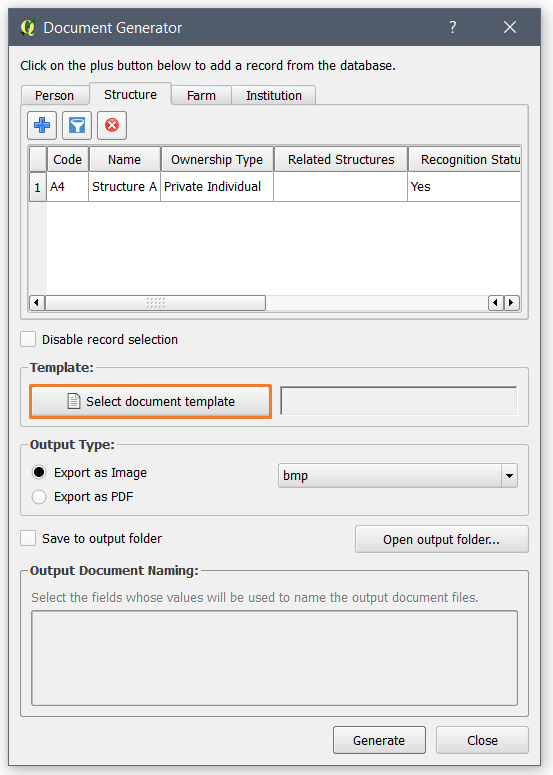
The Document Generator module loads as shown below.
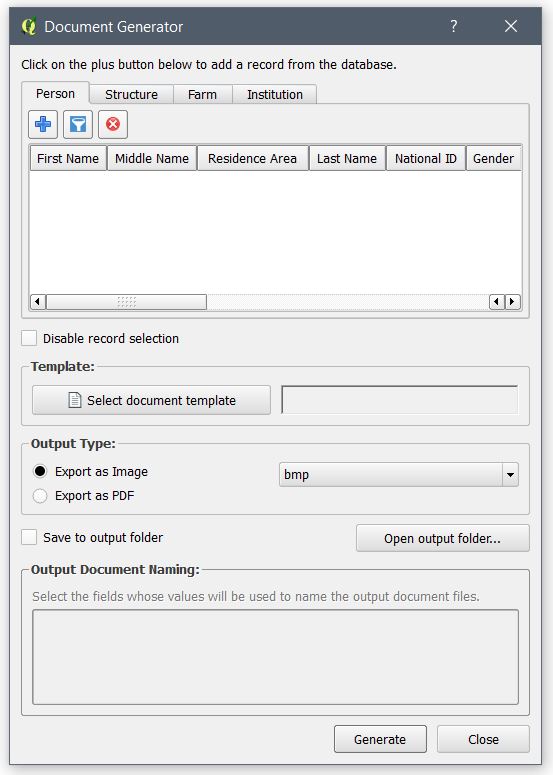
The top part of the dialog has tabs that represents all the core entities (see the image below). If you add a new entity in the Configuration Wizard, a new tab will be added automatically.
2. If you are generating a document using aggregate data, proceed to step 4.
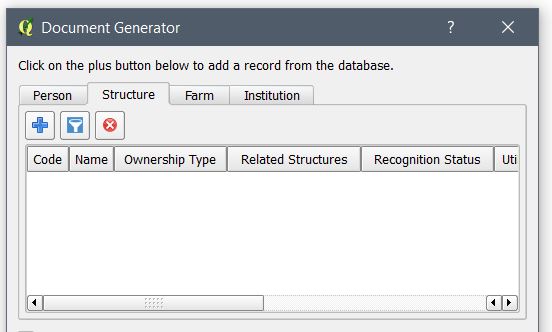
On the top part of the entity tab, click on the Add button ( )
to add a record whose details you wish to appear in the generated document.
)
to add a record whose details you wish to appear in the generated document.
The Entity Browser appears so that you can select a record of the entity.
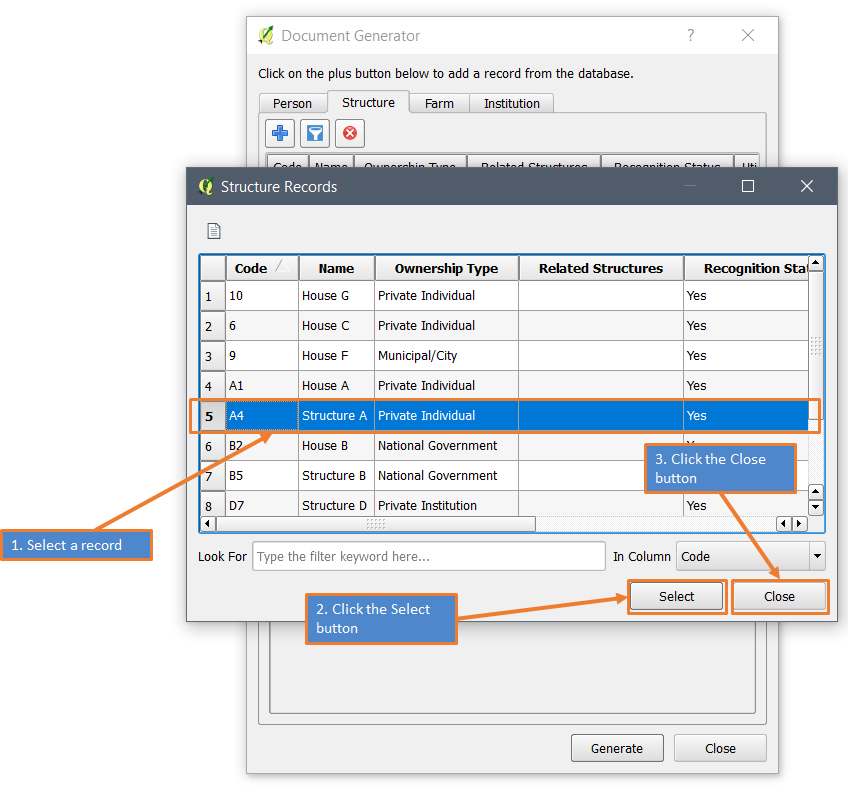
3. Select a record using the Entity Browser dialog or the QGIS Expression dialog.
A. Adding a record using the Entity Browser dialog
The image below shows how you can select a record using the Entity Browser.
In case you have large records, you can first make a search as discussed in Querying a Record topic.
If you want to add multiple records that are not continuous, follow the sub-steps below.
a. Press the Control (Ctrl) key on your keyboard
b. While still pressing the Control key, select records you want to add.
If you want to add multiple records between two rows, follow the sub-steps below
a. Select a record that will be the first selection in the range.
b. Press the Shift key on your keyboard
c. While still pressing the Shift key, select the last row in the selection range
If you want to remove records that are already added,
select it and click on the remove icon ( ).
).
B. Adding a record using QGIS Expression dialog
The sub-steps below show how you can select a record using the QGIS Expression dialog.
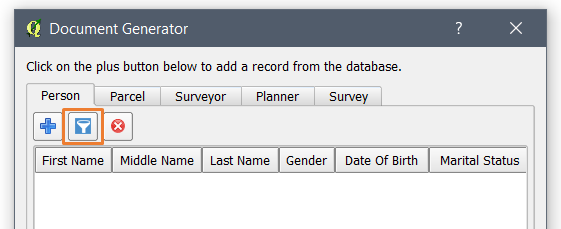
a. Select the Expression button located inside the Document Generator next to the Add button as shown below.
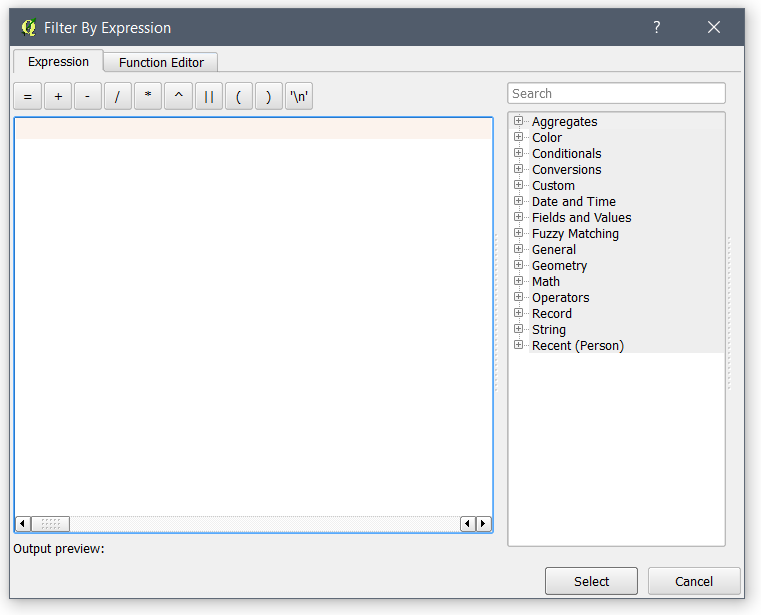
The QGIS Expression dialog opens as shown in the image below.
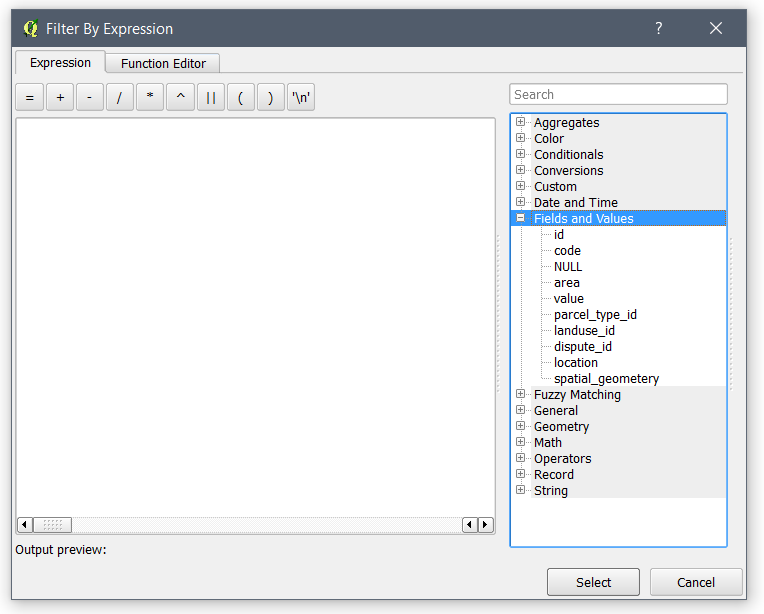
b. On the right side, expand the Fields and Values tree item as shown in the image below. You will see all the columns/fields of the selected Entity.
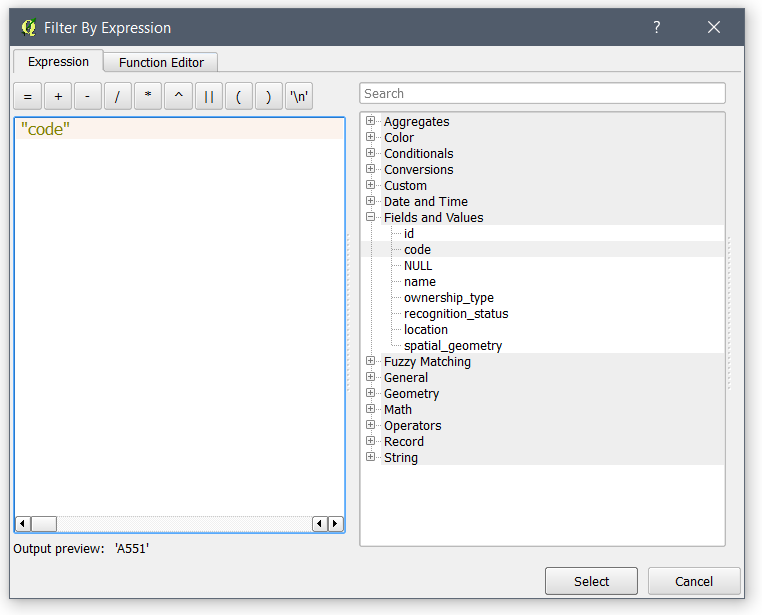
c. Double click on one field/ column you would like to use as a search filter. The field will be added in the white box in the left side as shown below. In this case, "code" is used.
d. Click on the relevant sign you want to use. In this case the equal (=) operator is used as highlighted in the image below.
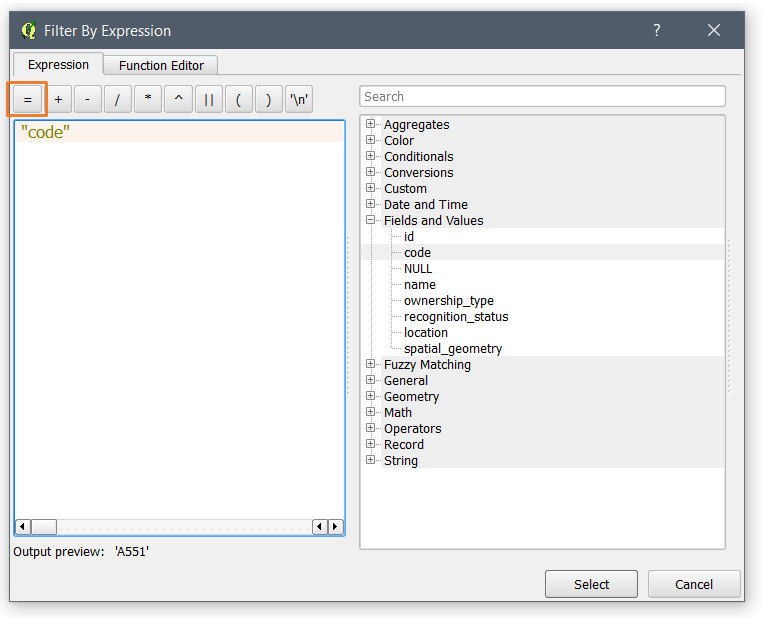
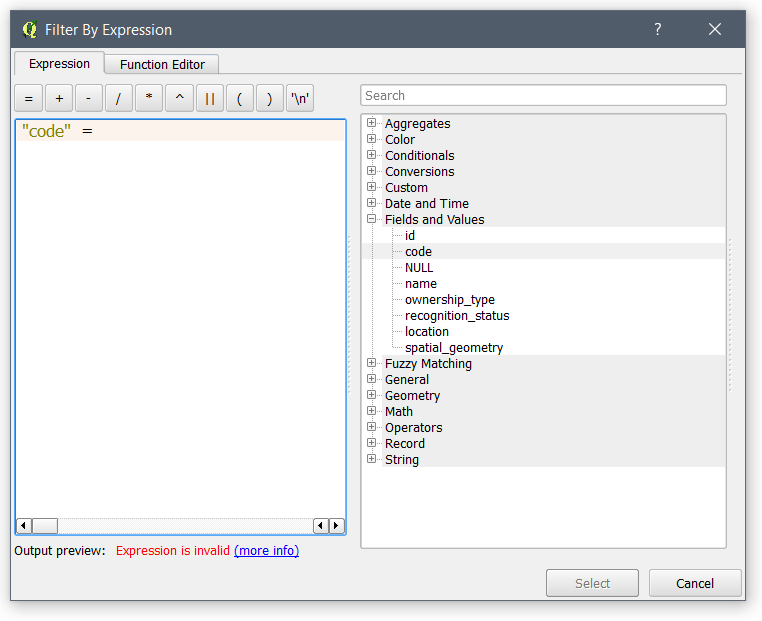
e. When you click on the sign, you will see the sign added as shown in the image below.
f. Type the value you would like to search as shown in the image below. In this case, it should be a relevant value for the code column.
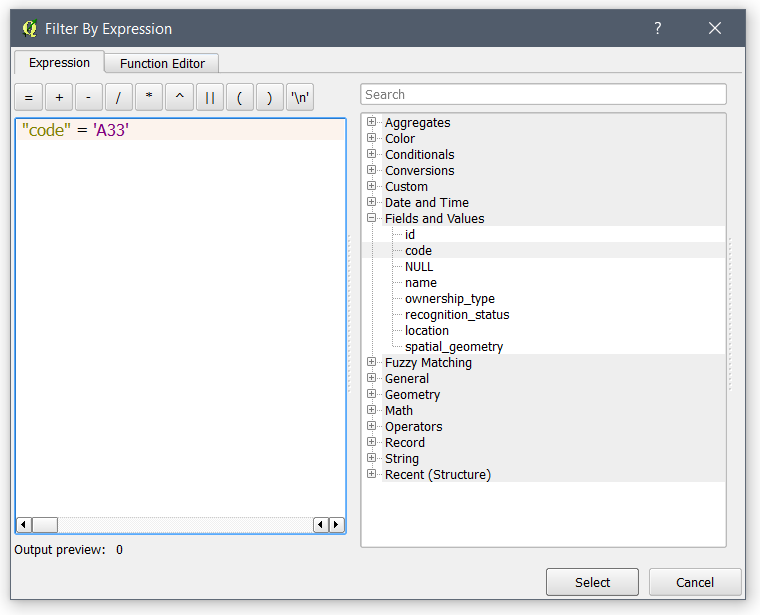
Note: textual data should be written in between single quotes, as shown above. Numeric data should be written without quote.
g. Click on the Select button to load the record into the Document Generator, Entity Record Selector as shown in the image below.

If you want to remove records that are already added,
select it and click on the remove icon ().
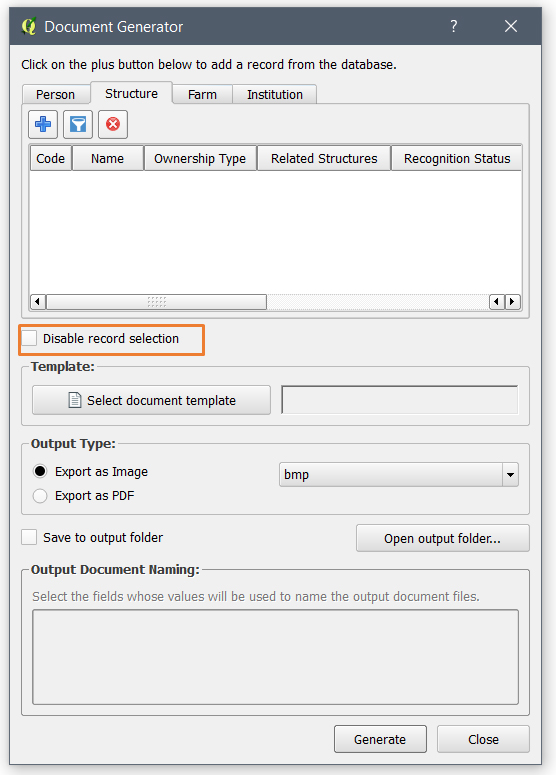
4. If you are using templates that are designed for aggregate data reporting, check on the option Disable record selection (highlighted below). This disables the selection of records and the template will fully use all the contents of the data source.
6. Select a document template that you want your generated document to be based on.
To select a document template, click on Select document template button as highlighted below.
A template selector appears showing all templates designed for the current entity.
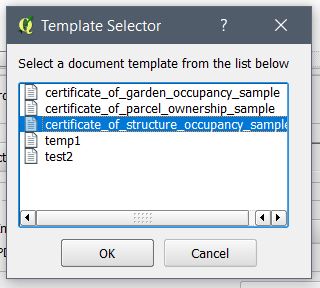
Click on the template you want to use and click on the OK button.
Note: Only matching templates to the selected entity load. For instance, a template that used Person as a Referenced table in STDM Data Source of document designer will not be visible when you want to generate documents by selecting a Structure record.
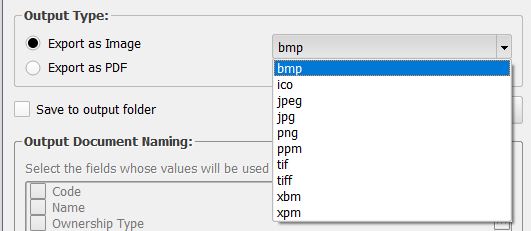
7. Choose the output format of the generated document. You can choose several image formats or a PDF format as shown below.
If you have chosen the Export as Image radio button, the image format drop down menu becomes active. You can then select an image format that you want (as shown below).
8. Set the saving location and the file name of the document.
You can save the generated document either in a location that you have chosen or in the output folder as specified in the Configuration Wizard or Options.
A. Saving in preferred location
If you wish to save it in a location that you have chosen, make sure Write to output folder options is unchecked.
Click on the Generate button.
A Windows Explorer pops up so that you choose the file name and location of the document to be generated (as shown below).
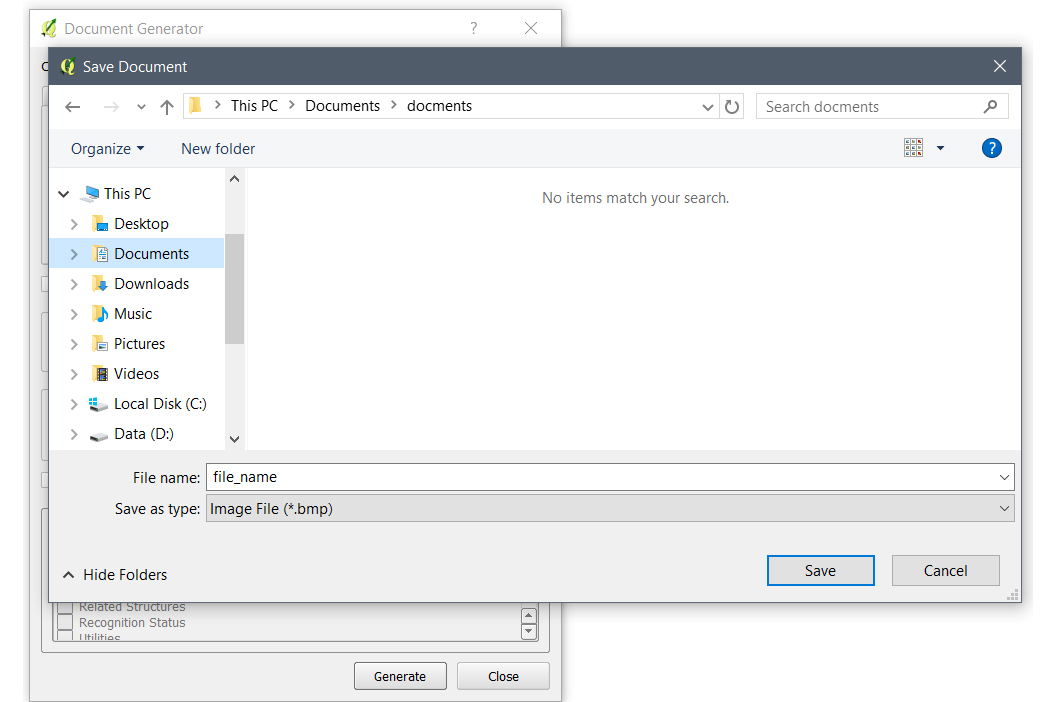
After choosing the folder and file name, click the Save button.
If the record selected is found in the table that the template used, you will view a message that shows that the generation was successful as shown below.
Click on the OK button.
The document has now been successfully generated. You can browse to the saved location to see the document.
B. Saving in the Output Folder
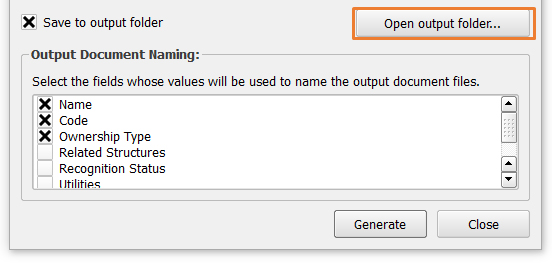
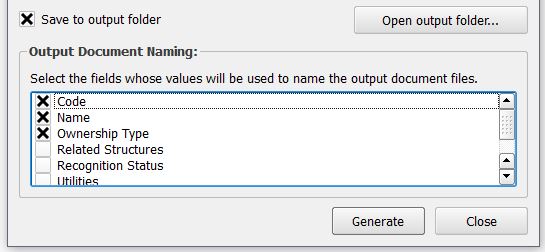
If you want to use the output folder, check on the Save to output folder checkbox as shown in the image below.
The box Output Document Naming gets active so that you can also choose and sort the values to be used in the document file name.
Check on the checkbox in front of the column that you want the file name to draw values from.
If necessary, sort the order of columns by selecting, dragging and dropping them to the position you want them to be as shown below.
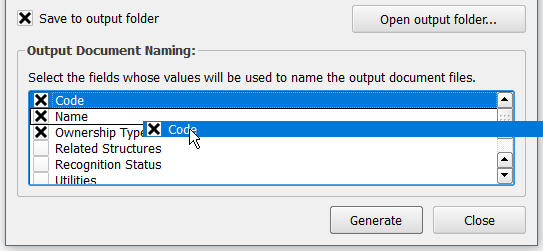
Click on the Generate button.
If the record selected is found in the table that the template used, you will see a success message that shows that the generation was successful.
Click on the OK button.
The document has been successfully generated. You can browse the output path to see the generated document. If you have not opened the Output folder, click on Open output folder.. button as shown below.